
Read from the beginning: Setting the Stage
Go to part 5: The Videos!
Ha….so full disclosure… for a variety of reasons I was not able to finish this blog series in “real time”. In fact, I am returning to this post a full year later. As you might imagine, by this point in time I cannot recall the granular details of the the last phases of the project.
So rather than continue in a mode of action research reporting, I will just summarize my key takeaways from rehearsal and filming. As one of my professors was fond of saying, “Done is better than perfect.”
Rehearsal and Setup Tips
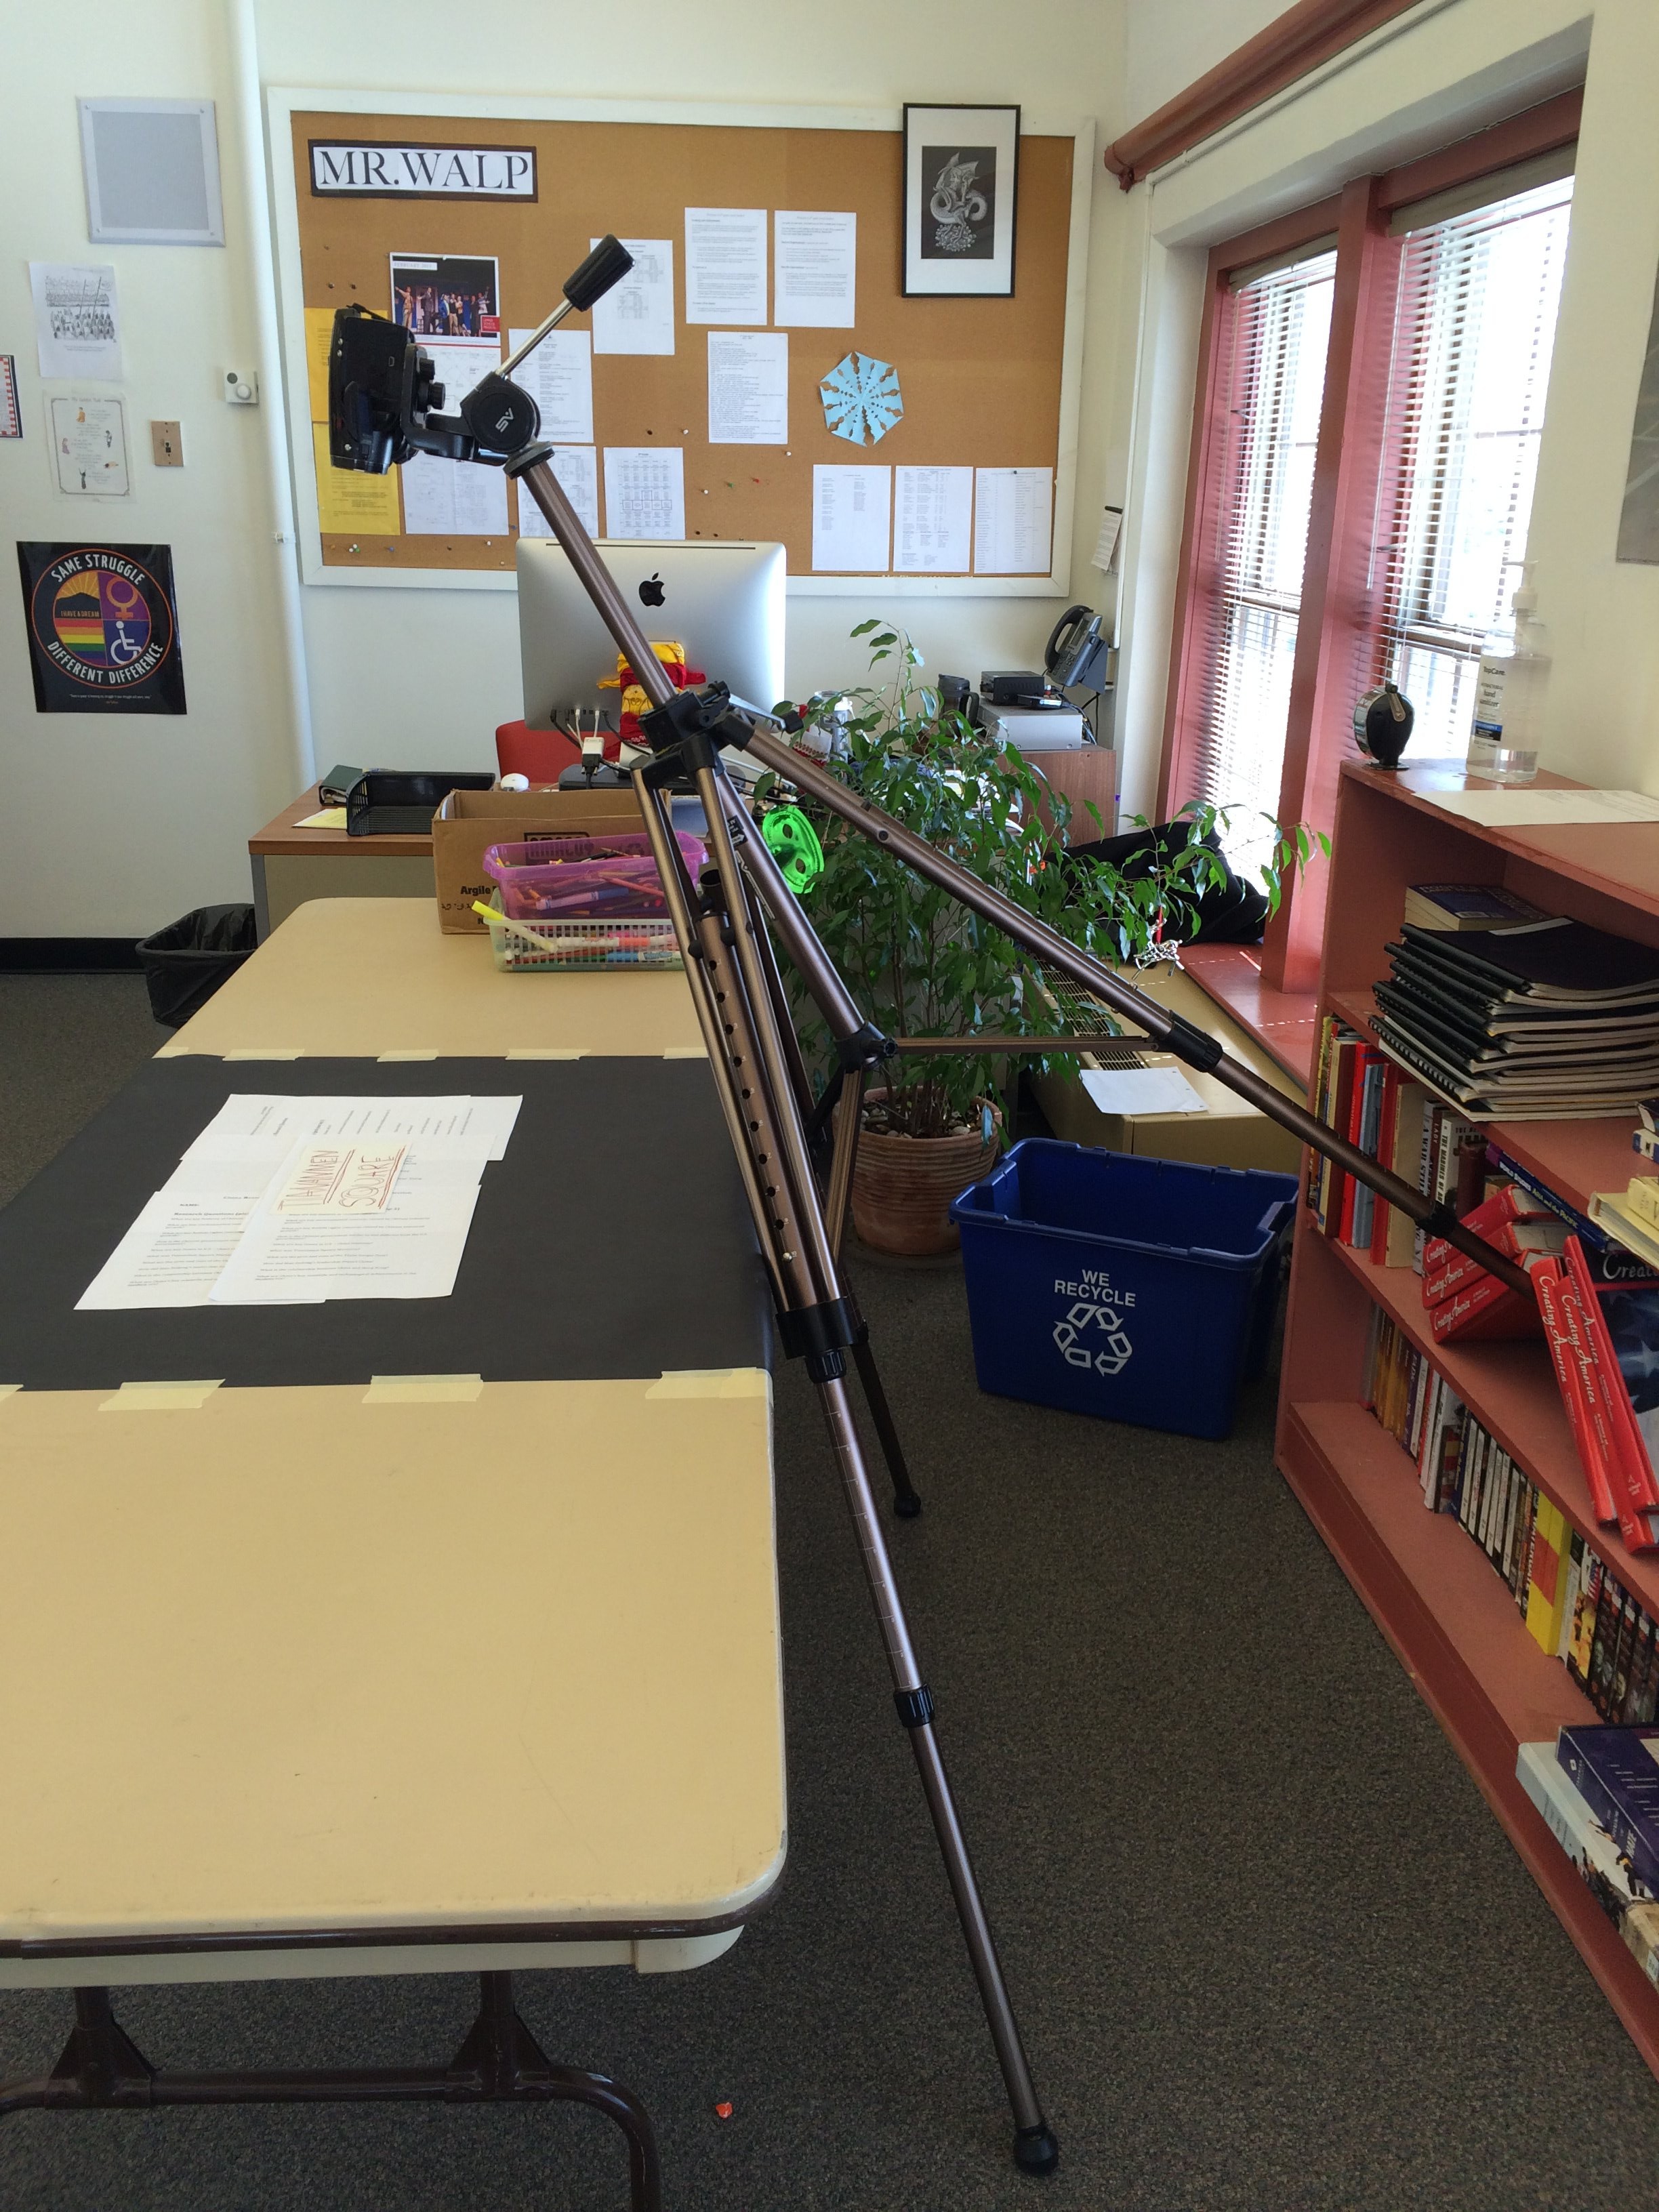
- If possible, have a “shooting stage” set up in advance. The day my students came in to see the camera in place, they definitely “upped” their game. It had become real.
- It is very important to allow time for rehearsals, including full dress rehearsals on the stage. The stage hands need to organize the pictures, and need multiple repetitions to get up to speed.
- Screen testing is useful to check light levels and allow students to make adjustments to their pictures (e.g., proper scale, bright bold colors, etc.). In my experience students tend to create pictures that are too small and too detailed until they can see how it really looks on screen. Unless you have a lot of windows in your room, you will probably need a few spot lights to properly adjust the light levels.
- Check to make sure that you are comfortable making adjustments to your tripod, camera and lights. Do a few test runs to make sure you can import the videos from your camera to your computer. Make sure you have extra batteries and memory cards available.

Lights, Camera, Action!
- Prep a shooting schedule in advance. Which groups are ready to go, and which groups could use more time? A group that goes at the end of the line can get two or three more repetitions in before they are up.
- With setup and transition time, I have found that I can easily film four or five groups in a 40 minute period. If things are running smoothly, plan on 5-10 minutes set up at the beginning, and 5-6 minutes per group for filming.
- Set up behavior expectations for the students that are in the room during filming. Students should be quiet and respectful during shooting. I told students that their group would need to go twice if they botched a take for another group by being distracting or disruptive. Perhaps a bit harsh (and I am incredibly thankful that I didn’t need to enforce it), but needless to say I did not have ANY behavior issues while filming.
- Post a guard at the door to prevent non-emergency walk-ins. Incidentally, this is a great task for students that have completed filming and have trouble sitting still in the audience.
- JUST KEEP GOING! I remind students that they need to film in one take, and that I am the only one that can call cut. I have had students stutter, forget their lines, miss pictures, get the giggles, bump the camera…you name it. But they kept going. Done is better than perfect. This is a big reason why I basically don’t grade the video. All students get full credit for shooting a video regardless of the quality.
- Congratulate your students when they are done! As someone who spends his time professionally “on stage” in front of a classroom, it is easy for me to forget how stressful it can be for many people. Just because the students are engaged and excited about the project, doesn’t mean that they aren’t nervous (or even terrified…) on filming day. Make sure to give them props for a job well done.
Go to part 5: The Videos!
Have you ever had students do a group performance in class? What tips could you add to this list? What could I do better next time? Tell me about it in a comment!